
Creating Multiple Labeling Options For Your Tap Handles
This post comes on the heels of the poll I ran last month to help pick the label which was to appear on my Ironfire tap handle. My dilemma comes from a situation such as this: suppose, like in my case for the Ironfire, that you receive several great-looking labels with your tap...it seems a shame to permanently adhere only one of those labels, ruining it if you try to pull it off, or obscuring it by placing another label on top of it. I'm going to show you an easy way to exchange labels on your tap so that you can change up the look without ruining the label.
Click through to read more about this project...
Click through to read more about this project...
The way I'm going to accomplish the use of multiple, usable labels is through the use of magnets. Perhaps you've seen (or own) taps with a metal strip or a magnetic strip that allows labels to easily be applied and removed. This is simply the same concept, using magnets rather than metal. Metal is harder to shape and would involve the application of adhesive, so I've chosen magnets to work with instead due to the ease of use and speed.
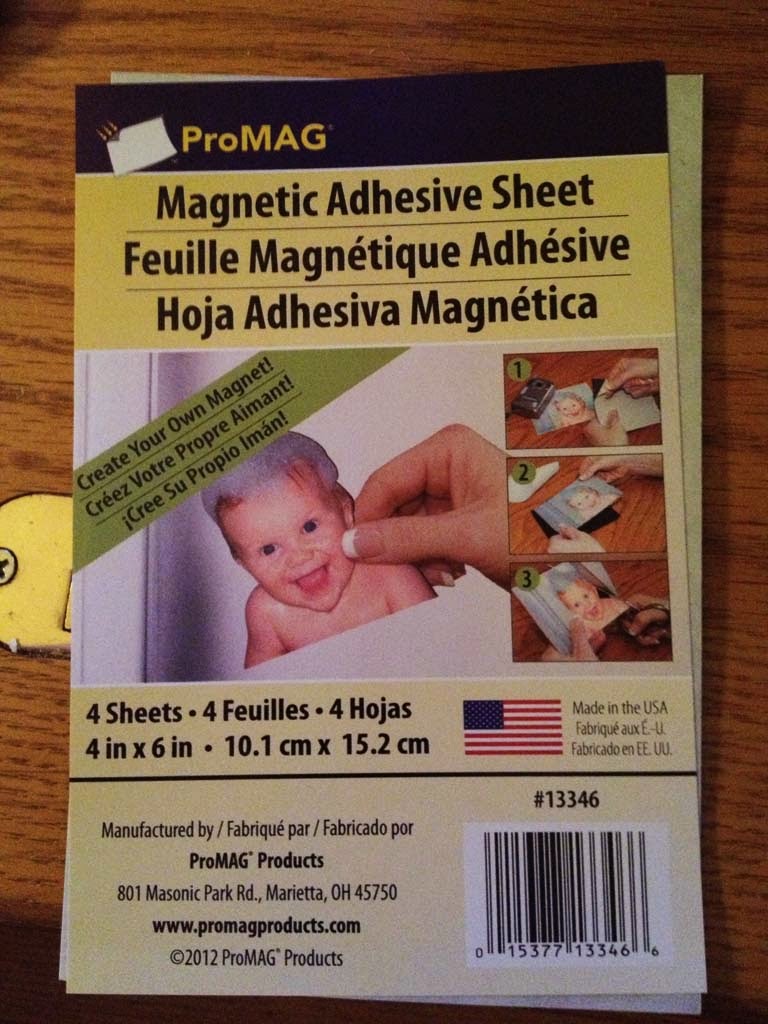
First you'll need to purchase a pack of magnetic adhesive sheets. The ones that I prefer are from ProMAG (see photo to right), since I can go down to my local Office Depot or Office Max to find them (not sure if Staples has them). Of course you can go to ProMAG's website or Amazon if you don't have a local option or want a bigger variety of sizes and shapes. I have purchased a 4 count 4" x 6" sheet pack for this demonstration. What makes this product great is 1) the magnets are thin enough to cut with sturdy scissors, 2) they already have adhesive on the back and 3) the magnets stick to each other, eliminating the need to work with metal. There are two surfaces: a black smooth magnet surface and a white surface that is also called backing paper. The backing paper peels off, leaving an adhesive surface behind. Here are the steps involved:

1. Place the label you want to use on the white backing paper side and trace an outline on the white paper around the edge of the label. Hold the label tight because if it moves, your line will move, making the magnet harder to cut. Try to get as close to the edge as possible so that you don't waste too much material. Magnetic scraps can be used for lots of other things from creating your own refrigerator magnets to using them for shop projects or magnetic message boards.

2. You'll end up with an outline of the label drawn on the backing paper, which is now a template for cutting. Using a sharp pair of heavy duty scissors, cut around this outline. Perfection isn't required, but cutting too far inside the line will leave the outer edge of your label floating, unprotected, and prone to creasing during handling. It's actually better to cut a little bigger (on the outside of the outline) as it won't hurt anything other than to have part of the magnetic exposed around the outside of label. For aesthetics, try to cut right on the line, making long continuous cuts as you rotate the magnet to avoid sharp edges (except for square or rectangular labels which SHOULD have sharp edges).

3. With your magnet cut, you'll end up with your template as one piece and your large leftover scrap as a second piece.

4. Peel the backing paper off of the magnet you just cut. Try not to touch the adhesive surface with your fingers too much in order to maintain good adhesion properties. Save the piece of backing paper.

5. Apply the adhesive surface of the magnet to the tap handle label area. Use the piece of piece of backing paper you removed and gently apply pressure to get the magnet to adhere. This keeps any oil on your fingers from getting on the surface of the smooth side of the magnet, which is now ready for your label.

6. Repeat steps 2-4, drawing another circle and cutting it out. This piece is going to be applied to the label. If the label has an adhesive back that is covered with backing paper, make sure you remove the backing paper because it is not made to stick to the adhesive.

7. Apply the two adhesive surfaces ( one on the magnet and one on the label) together. Make sure they are lined up as perfectly as you can get them before sticking them together. As you did above, using the backing paper you removed to apply pressure to get the two surfaces to adhere. You should now have a label with a smooth magnet attached to the back of it.

8. You can now stick the label magnet to the tap handle magnet and your label is attached! By repeating steps 6 and 7 for any other label - in my case I also did this for the 6 Killer Stout, Gunslinger Gold, Vicious Disposition, and 51/50 labels - now swapping out the label is as easy as pulling one magnetic label off of the tap and slapping another one on. And for taps like the Ironfire, which has a spot for a label on both sides, you can have a different label on each side that can be changed at any time.
This procedure is completely reversible for the tap handle, as you should be able to use a hair dryer to remove the magnet that is adhered to the tap and then remove any remaining adhesive with a cleaner like Goo Gone. The label, however, is not reversible since it is basically paper and will not unstick from the magnet without tearing.
I hope you found this guide useful. Getting all the labels you want might very well be the hardest part!
Comments
Post a Comment